Range Rover body build Vol.4!
Now, lets start building RangeRover body!
This time, I am going to finish up the snorkel and do some interior work.... but actually, mainly body painting work has done!
Specification: What I have installed
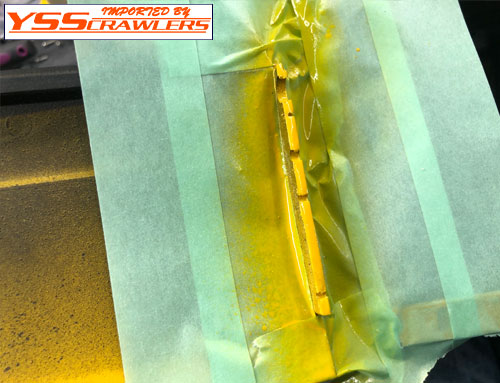
1. I have cut some roof so I have to paint the body again!
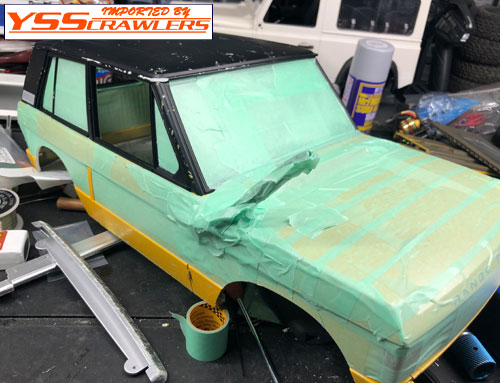
2. To paint roof black, I thought it is good to have black on the bottom!
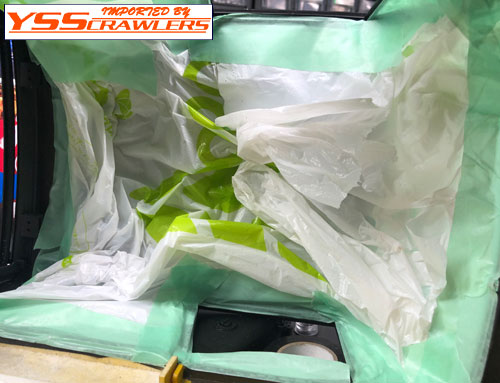
3. Body painting process, you will need to mask inside too! Dont forget! Its useful to use super market plastic bag for masking!
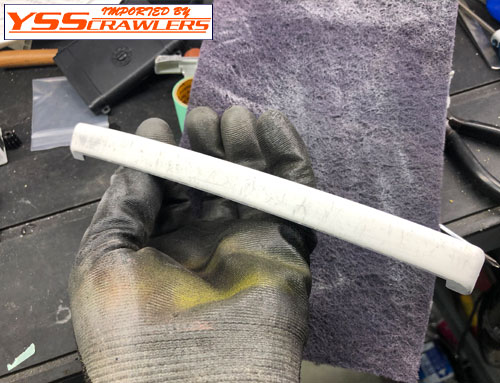
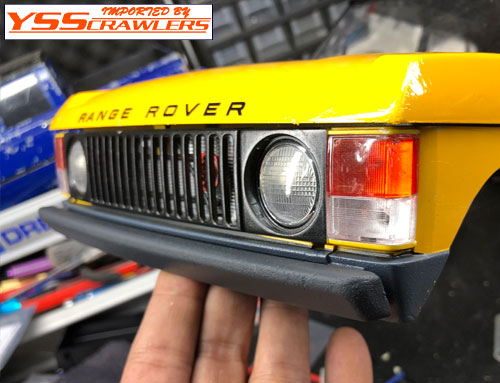
4. I took off the bumper, and it was so scratchy, so I decided to paint!
5. Sand up the bumper to prepare for the paint!
6. I painted gunship color to the bumper, looks good!
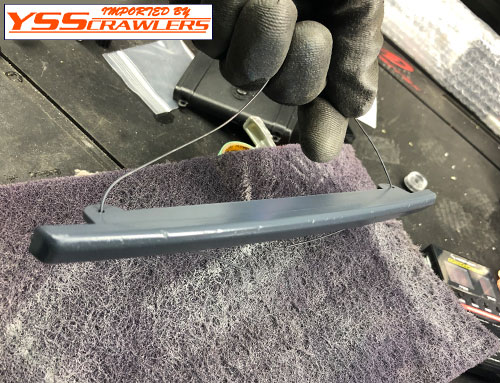
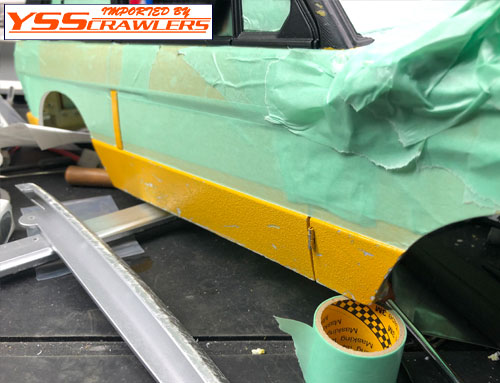
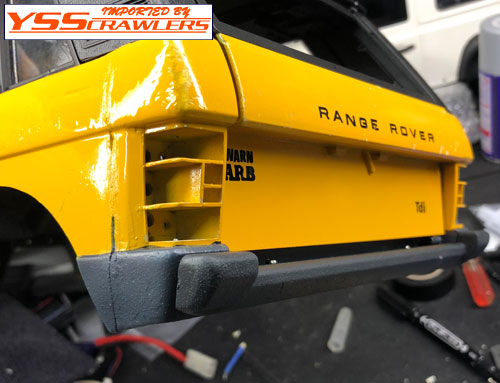
7.Body lower part is black and gunship bumper looks not so good... so I decide to paint again!
8. Gunship color looks good, so I have painted to the bottom part of the body!
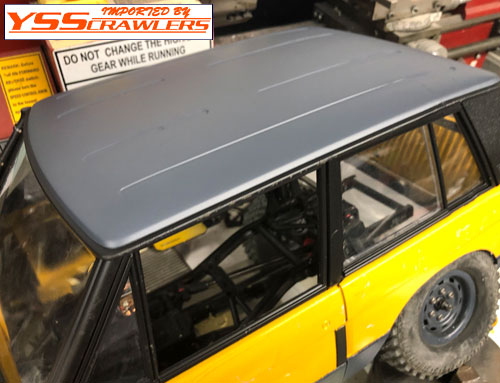
9. And also roof, I painted gunship color too! Better than before!
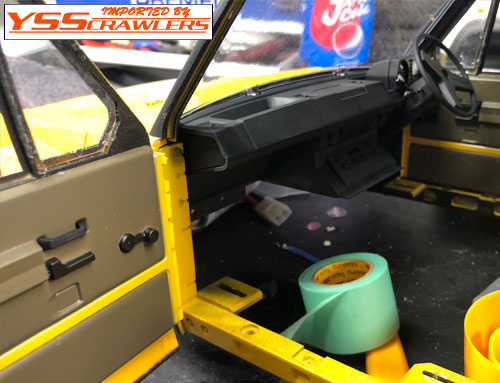
10. Now, I can do some interior work! I masked knobs and painted black!
11. I have also glued on the door knobs!
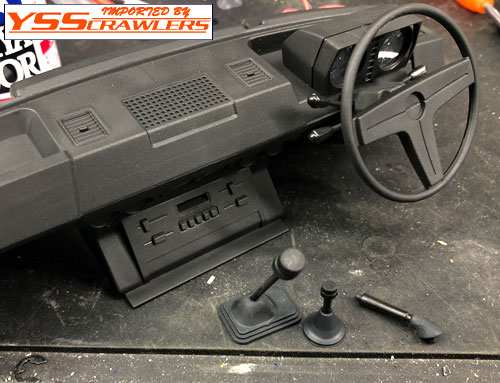
12. It was good looking and material that was so real, but I decided to paint flat black to have more rich texture to the Dashboard!

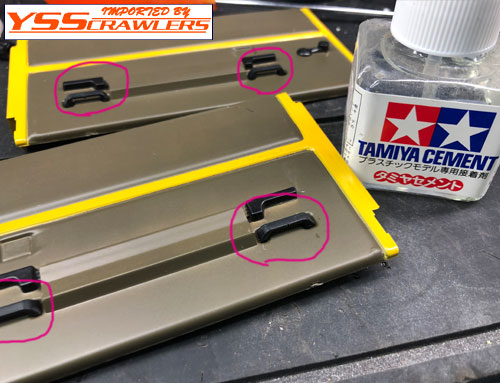
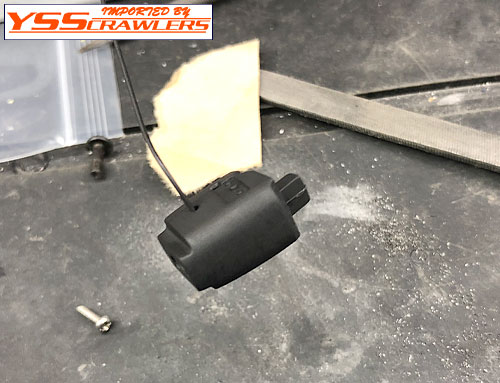
13. Most easiest way to hide the way to looks one parts like this. I used superglue!
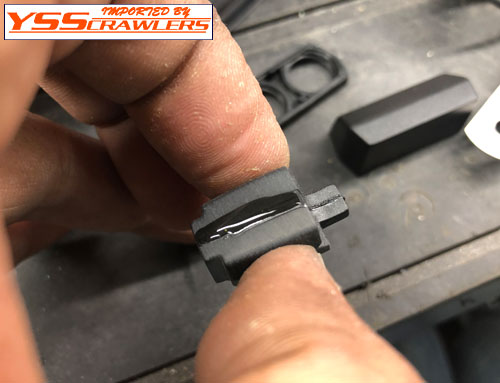
14. Sand it down!
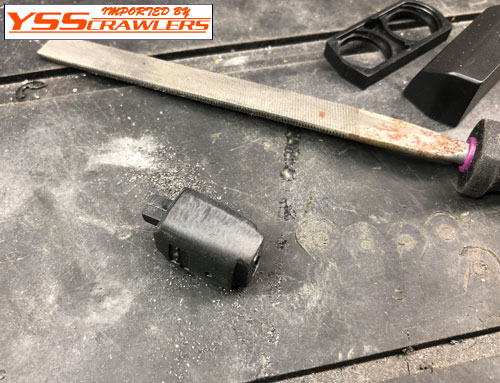
15. Paint! And it will look one parts! no seems!
16. Working on the main panel, looks so real!
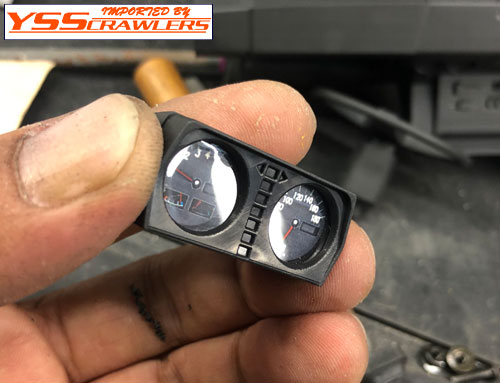
17. I have not decided to install light to the main panel, but I have installed LED to it. Whenever I want to light up, I can!
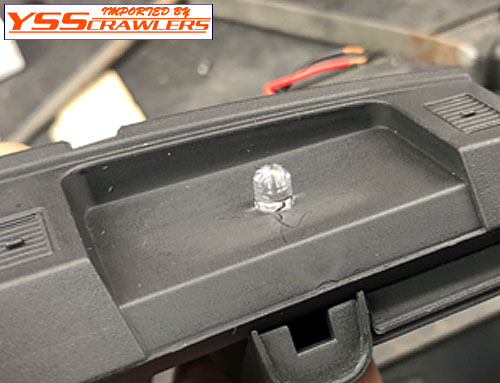
18. Glue it together! used 5mm drill bit and 5mm LED!
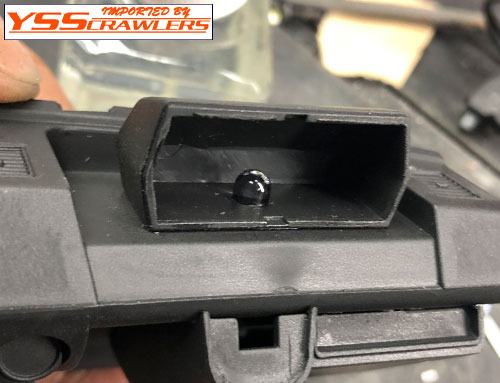
19. Now this section done!
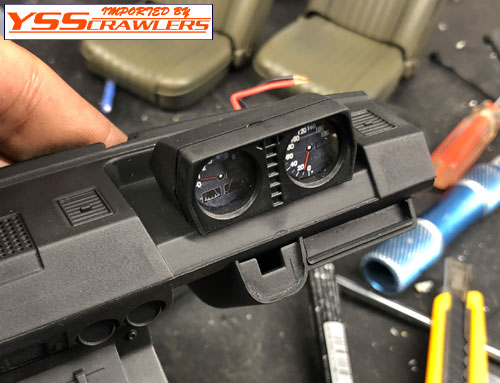
20. I painted all! Steering wheel, shift knobs and all!
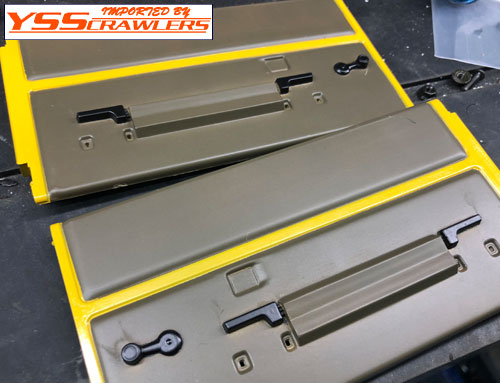
21. Inside of the door panel, there are not looking something sticking out, so I cut it down!
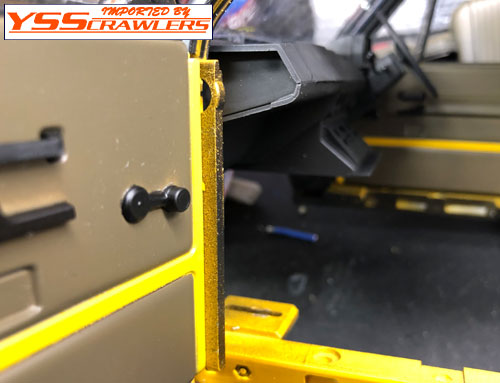
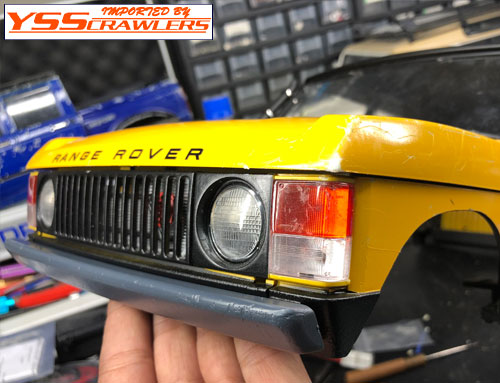
22. And painted!
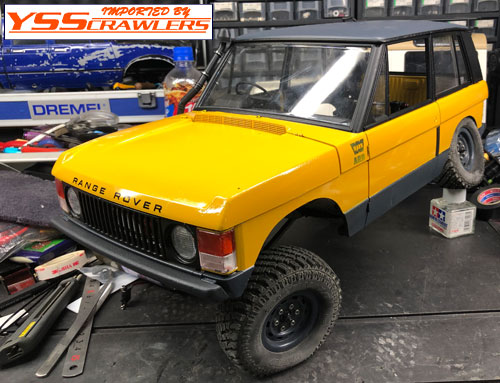
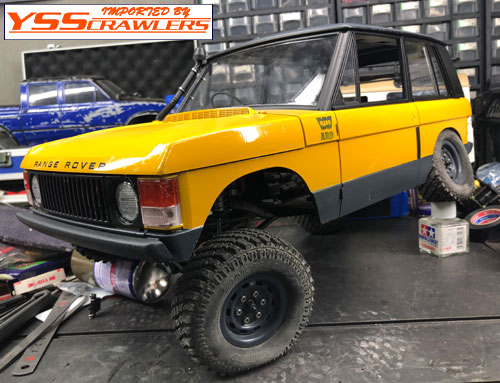
23. Now, it looks better!
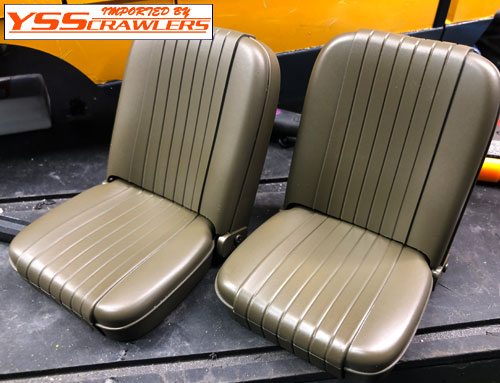
24. I also painted seats, same as door panel, olive green color!
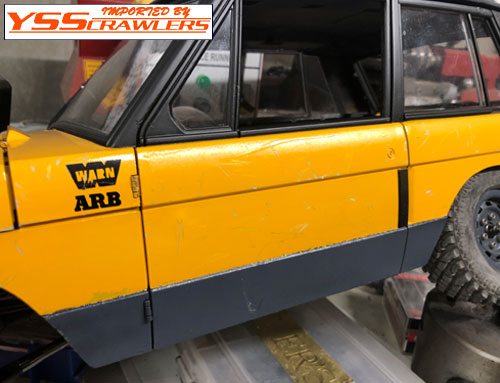
25. Now, the body bottom and bumpers are the same color, so I decided again to paint the bumper! Its rubber black color!
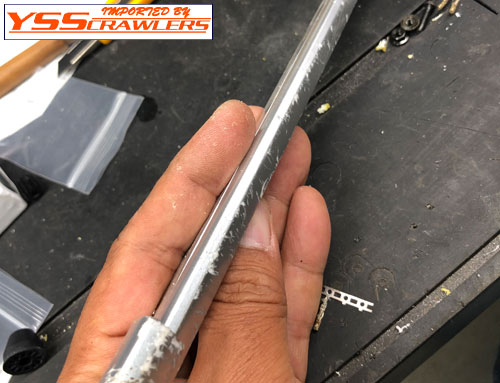
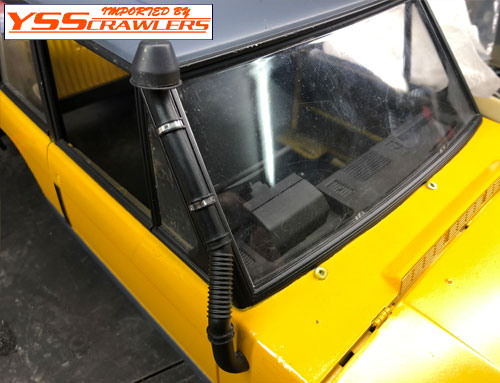
26. So what? why not paint the main color! Camel Yellow, so I painted!!
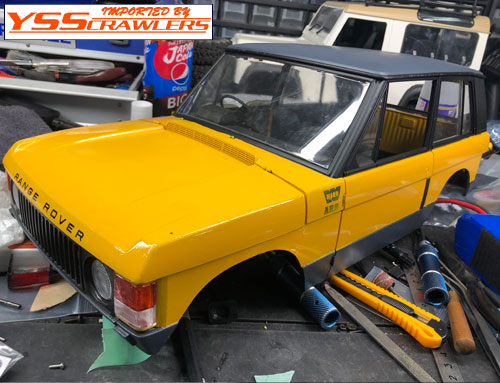
27. Combination of the color is now good to go!
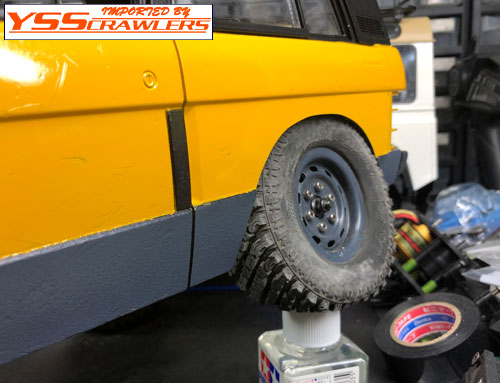
28. Body color, bottom color and bumpers are good color combination!
29. I have started to install snorkel, but long long way to get to here. I drilled 2.5mm holes and put 3mm screw in and tighten them up and finish installing the snorkel!
30. How the snorkel look? Its great for me!
31. I have cut the inner frame of the rear fender, so the tire goes in very well! Looks so satisfied!
32. All done for now! I have painted the body and looks so fresh!
33. I cant wait to install complete interior to this rig!
BTW, All work seem to be not going to end, so I better list them up!
*Interior work
*LED light up
*Add some scale accessories
*Let the driver drives
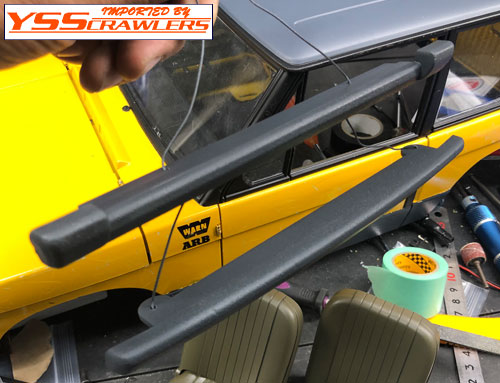
*Wiper, which one should fit well?
Have a great hobby time!
YSS Crawlers Yoshiaki Kataoka
This product was added to our catalog on Sunday 23 June, 2019.

