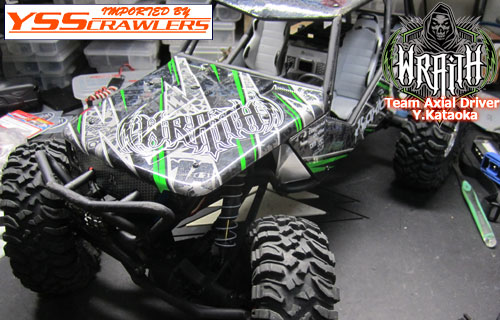
04 Axial Wraith Modification!
From the last modifcation, I went to the even and run this Wraith! RC4WD XCVD were very tough and didnt have any trouble!
This time, I am planning;
- More powerful run
- I want to add RC Rock Crawling abilities without loosing the Rock Racer abilities!
- Toughness, more reliable rig!
I am planning to install, Castle Mama Max Pro and Futaba BL152 Brushless Hi torque Servo and use 4 cells Lipo battery and when I want to speed up more, I will use 6 cells lipo!
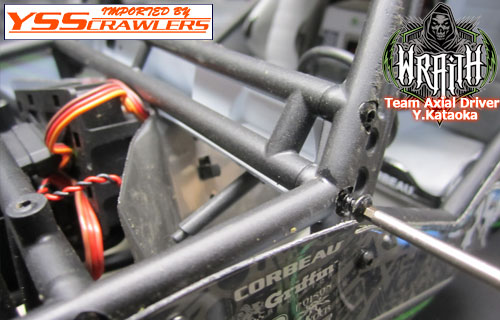
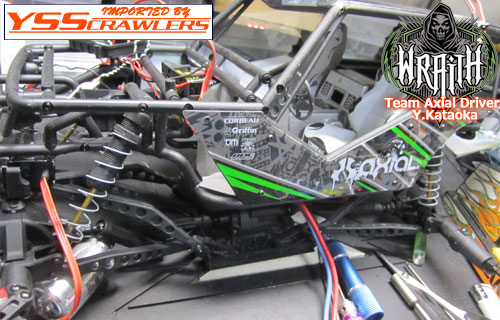
*First of all, taking off the body panels!
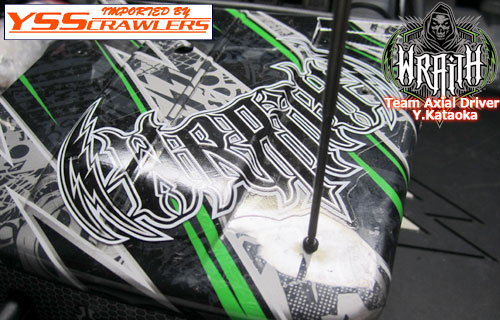
Use 1.5mm hex driver to take the screws off!
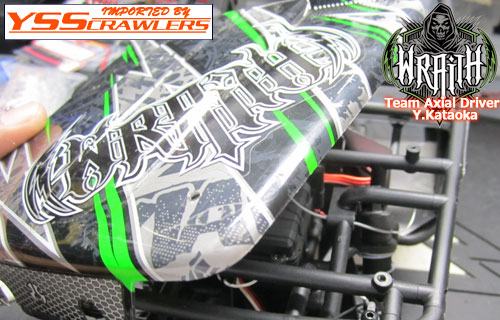
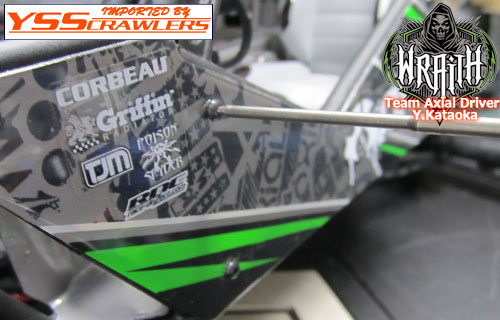
Side panels are also the same ways to take off the screws, use 1.5mm hex driver!
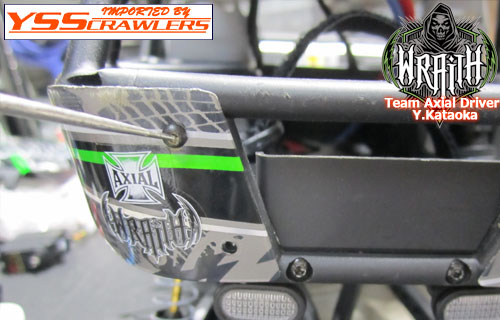
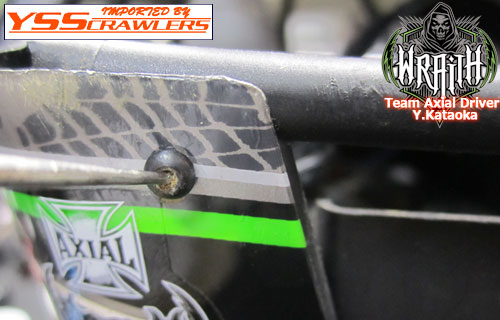
 *If the dirt is in the head of screws.
It is possible to take off the screws with dirt in it with the driver, but there are sometime, you will ruin the screws, use something sharp and stick into the head of screws to take off the compressed dirt!
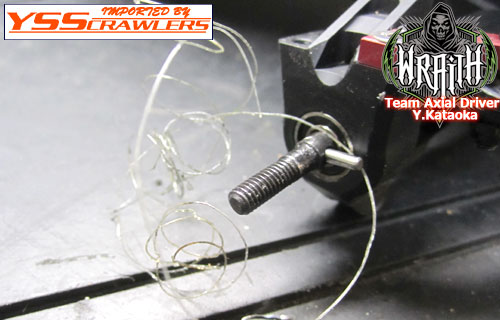
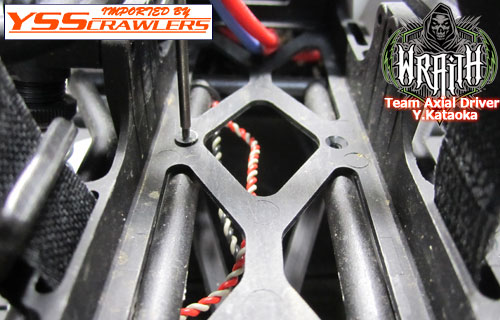
 *Running around the river!
I have found that the fishing string is all over the front knuckle, this isnt good for the power sources. If you are also running around the river, you should better check. Maintenance is the best ways to last longer and have no trouble with your rig!
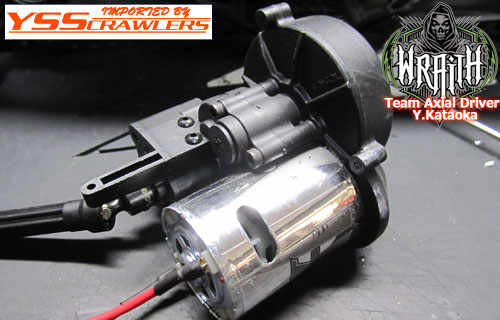
 *Taking off the ESC from Wraith!
I have decided to use Castle Creations Mamba Max Pro, so I am taking off the AE-2 ESC from the Wraith! First step to un-install the ESC from the Wraith, you will need to take off the 1.5mm hex screw from the bottom of the rig.
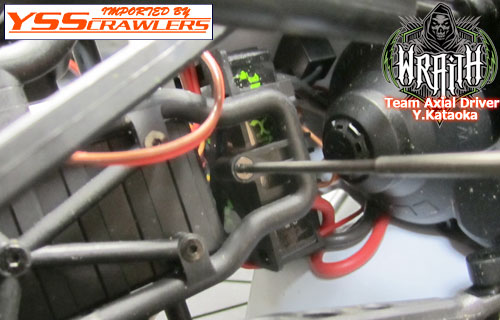
Next, you will need to take off the screws for the switch! its around the drivers side.
 *Taking off the Frame!
ESC is tighten in the front section of the rig, you will need to take off some of Frames to take off the ESC out from the rig!
Now, you could take off the ESC from your Wraith, no rush, just take time no to have damage to the cables!
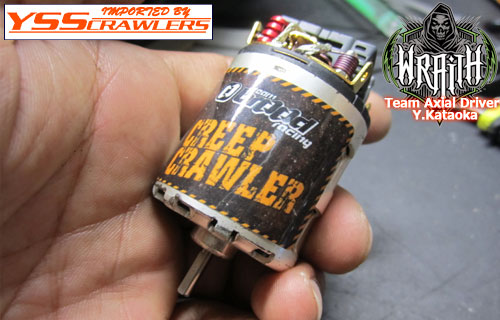
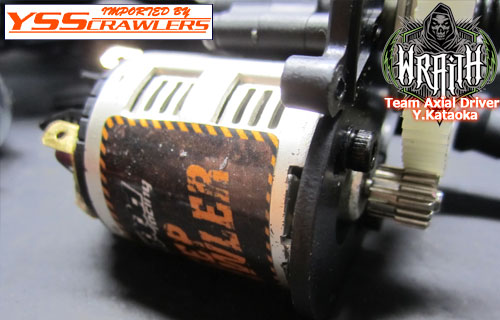
 *Team Blood Creeper 35T motor is what I am going to install!
Smooth start up, super powerfull and really tough motor is what I have chosen!
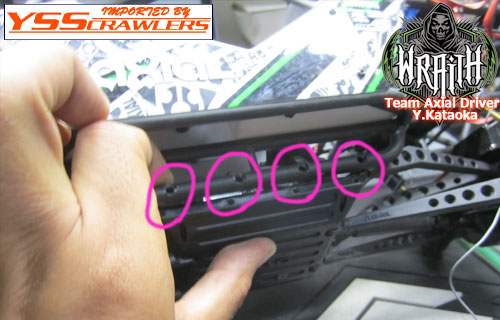
 *Taking off the gearbox from the Wraith!
There are 4 screws on the each sides, you can take them off by using 2.0 mm hex driver, easily, you can take the skid plate off from the frame!
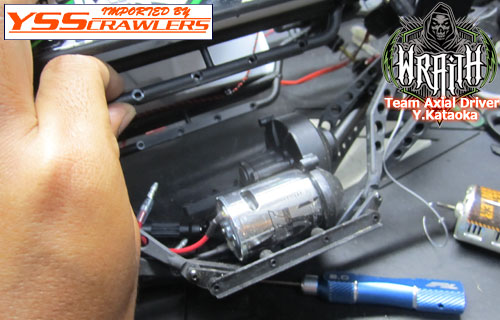
 *I didnt want to take time on other places!
I could take off, lower links, drive shafts and so on, but I dont have plan to change those parts, so I just took off 8 screws on both sides, here is the gearbox! Take 4 screws from the gearbox from the very bottom using 2.0 mm hex driver!
Here, I took off the gearbox! Almost the same shape as AX10 and SCX10, actually this gearbox uses same parts as AX10 does!
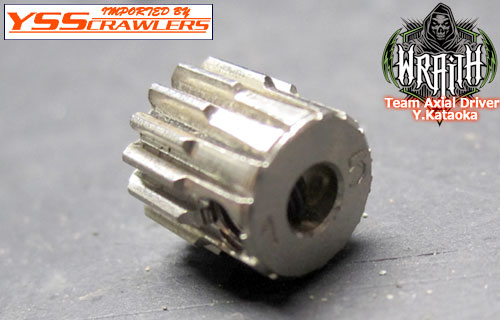
 *Thinking of the gear ratio!
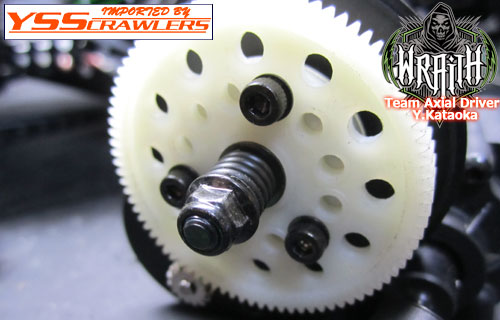
Stock Wraith have 20T pinion gear and 80T spur gear, and AX10 have 14T pinion, 87T spur gear, so I decided to use 15T pinion gear and 87T spur gear! This way, I dont have to worry about the too high gear ratio and difficult to crawl. For the high speed, I use 6 cells Lipo, this can cover the both!!
87T spur on the gearbox! I just slightly tighten the slipper pressure!
 *Installing THE TEAM BLOOD motor!
As easy as taking off the motor and gears, just put it back on!!
I moved the radio box to the rear, ESC is also rear, Battery is going to be in the front!
 *Taking off the battey tray!
I dont need battery tray in the rear anymore, so I took off the tray!
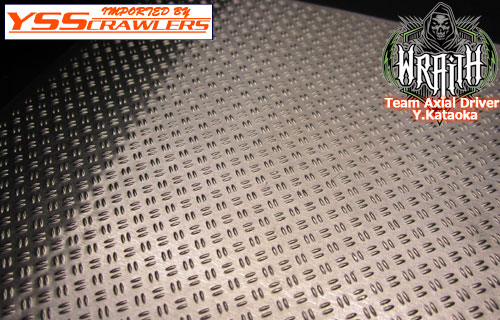
 *I used alum-diamond plate!
I wanted to be more scale around the rear section, so I decided to use diamond plate to decorate!
 *Easy to cut and mod!
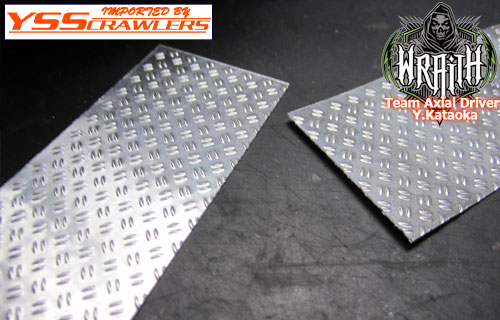
Alum diamond plate is very easy to cut, just cut with your xacto, bend, bend, bend!
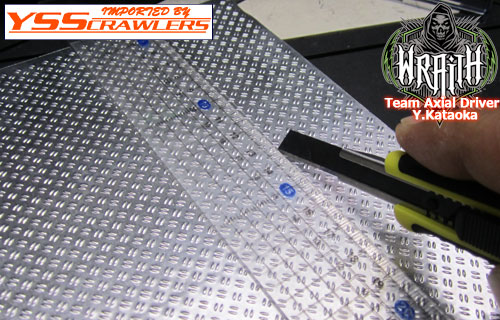
This is how you bend! Bend to opposite side, you can easily cut them in 2 pieces!
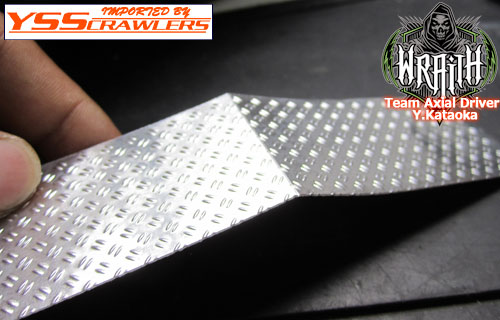
See how beautifully cut!
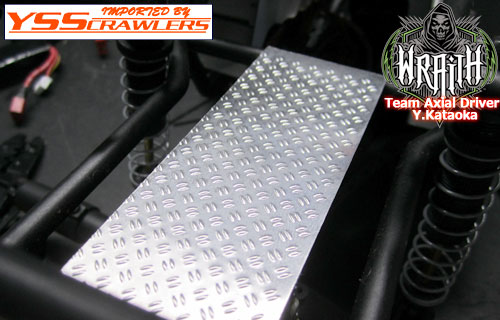
 *Layout to the rear section!
Size are just fine! really good looking!
Holes for the screws!
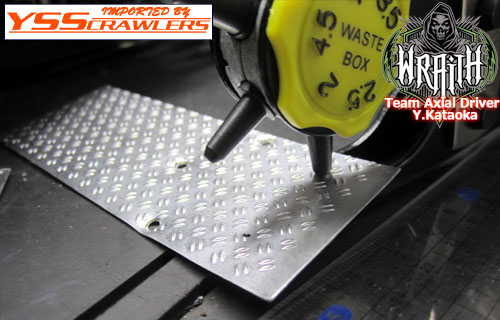
I have used stock screws to hold them! Really easy to do!
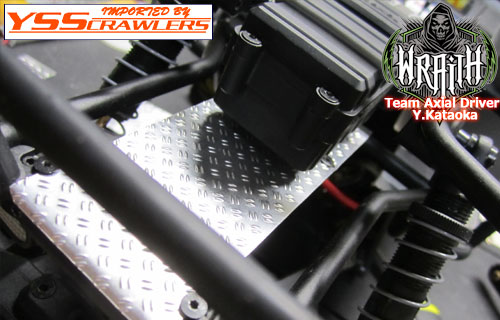
Very clan install!

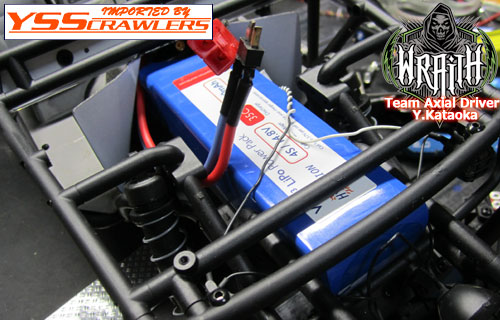
Front Battery, I decided to put in straight to the front, not sideways! Much better weight balance!
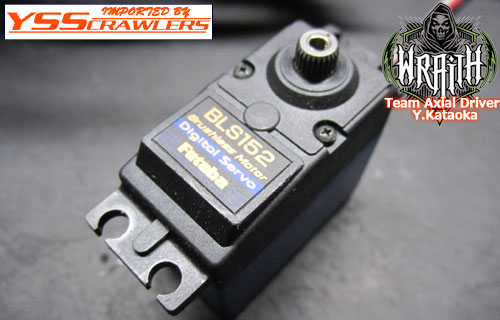
This is Futaba Brushless Motor Digital High Torque Servo! I didnt want to ruin the alum-servo horn I have used with the stock servo, so I decided to use Futaba.
Oh!!! I didnt want to see this blue things.... next time I take off the battery out, I will paint "Flat Black" to them!
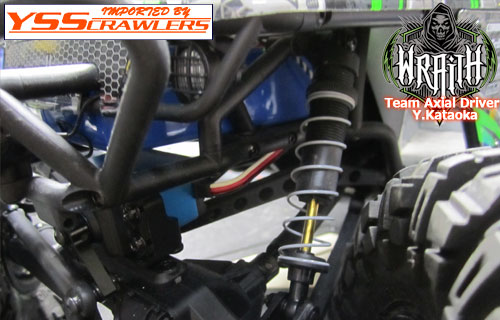
All done!! I cant wait to run this Rig!!
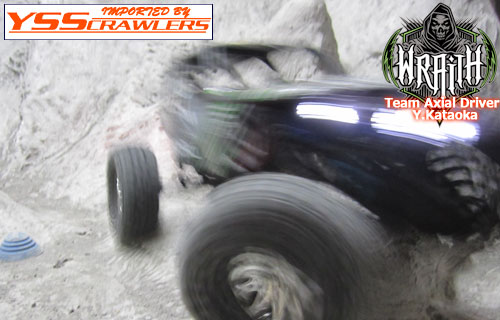
I run in the indoor course, really impressive run!! But, tires are not matching this surface, so I will change the tires next time...!
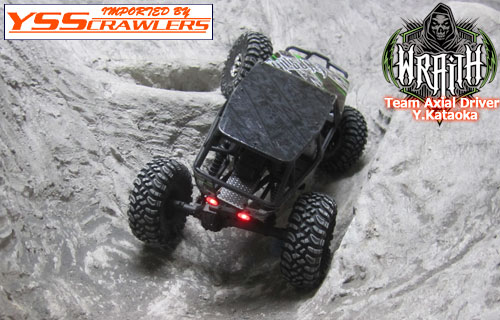
Powerfull, great pickup and really controllable!!
LED lights are really great looking! I realized the lighting is very cool!!
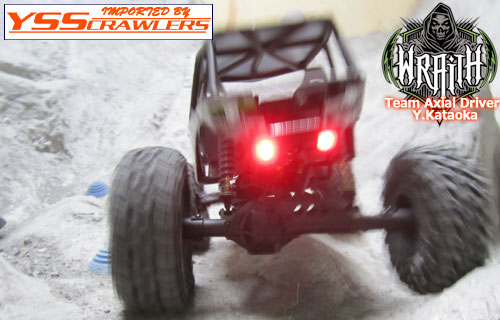
I will take my Wraith out to the field, test rock, flat dirt and etc soon!
Go out and have fun with your Wraith!!
This product was added to our catalog on Thursday 27 October, 2011.

