Axial SCX10Pro Build Vol.1!
Here comes the New Build!
Items I have used:
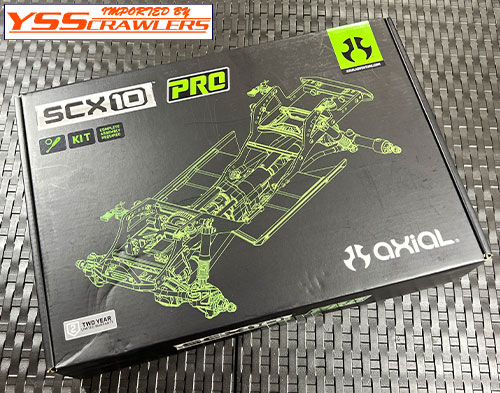
1.Compact box and cool design!
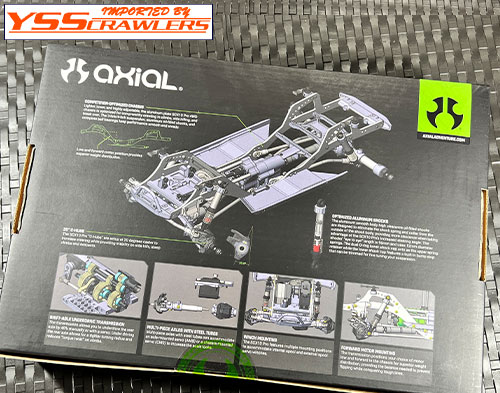
2.Really basic style, need some mods but this is what this kit want people to do!
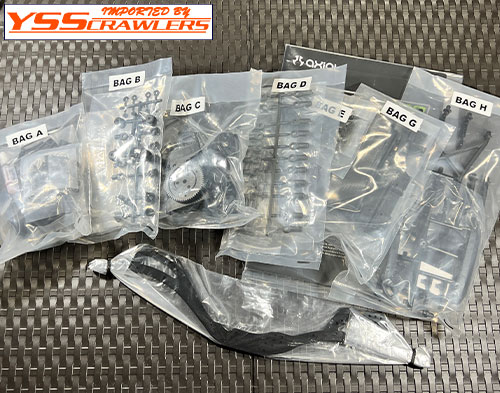
3.Are there F bag? or skipping it?!
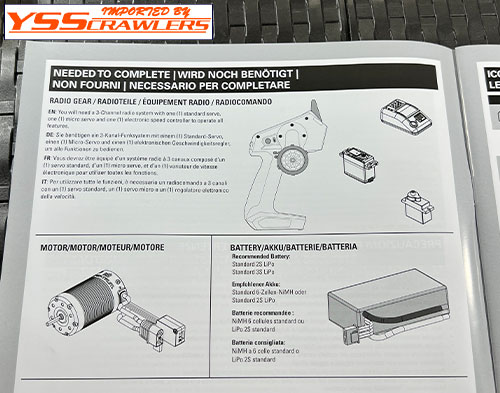
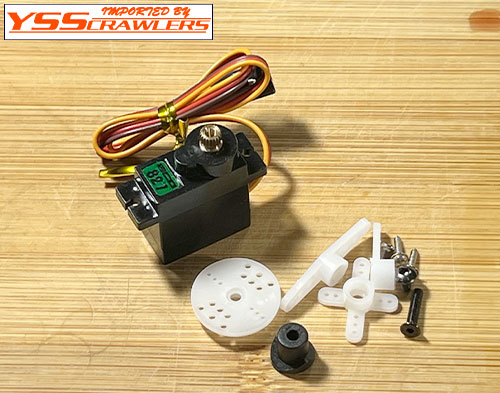
4.If you want to overdrive with remote, need micro servo!
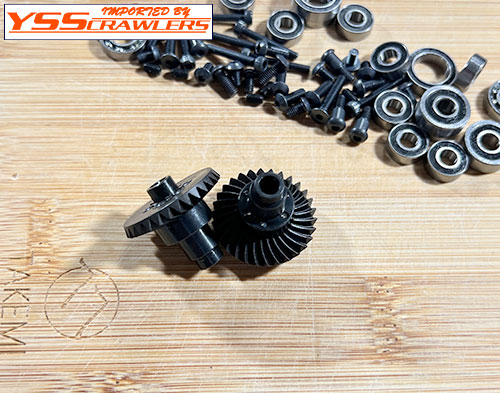
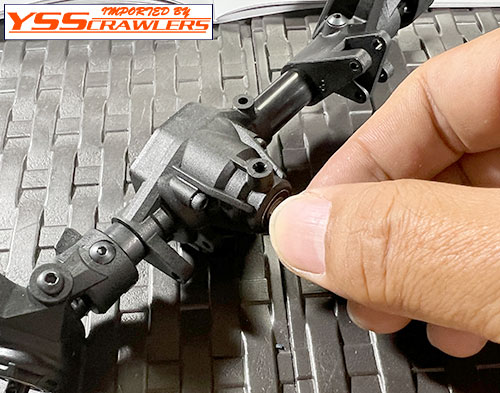
5.Lets start with front axle build, I always like to build from axles!
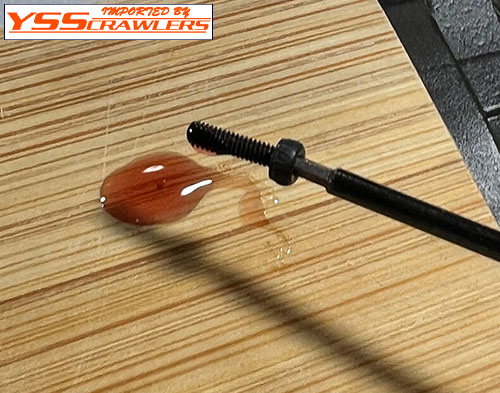
6.Thread tight glue, put it like this!
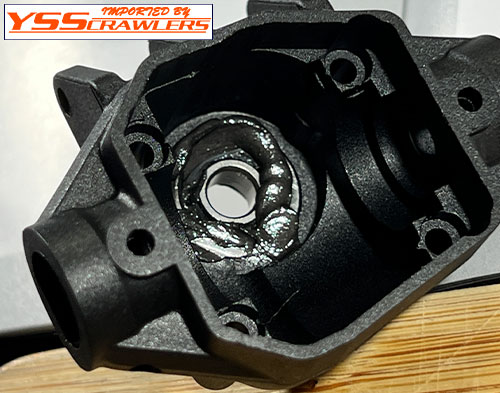
7.Grease, its good to put it here too!
8.Step my step, make sure the they are smooth!
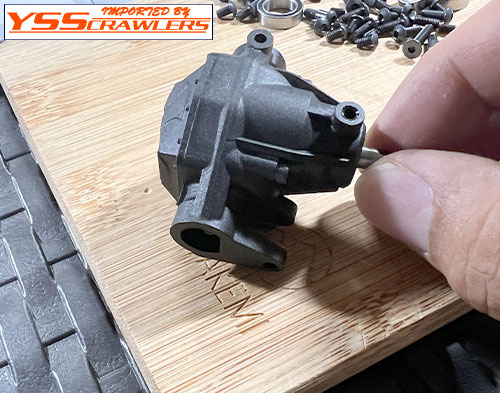
9.As well as the above, always check if it smooth or not, if not, do it again!
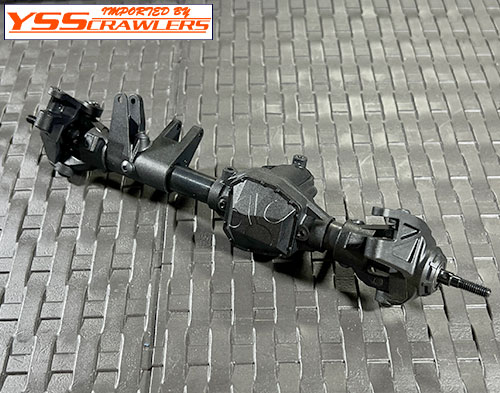
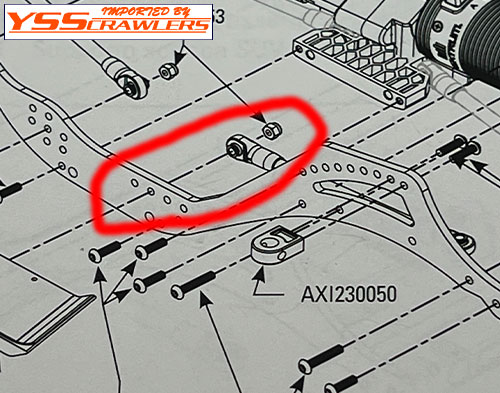
10.I thought this axle can adjust caster, but maybe not?!
11.I didnt realized when I took picture, but the link mount is incorrect!

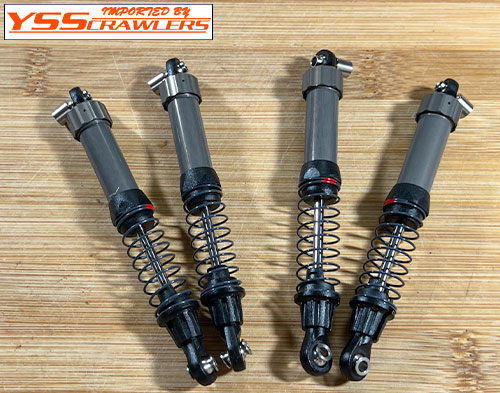
12.Shocks! Great quality and very easy to build.
13.
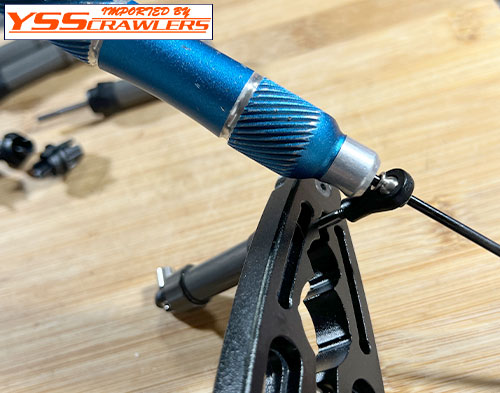
YSS プロテックRC ショック スタンド!, use right item to have easy time.
14.Great design, it was difficut to let air out, but this one is so easy!
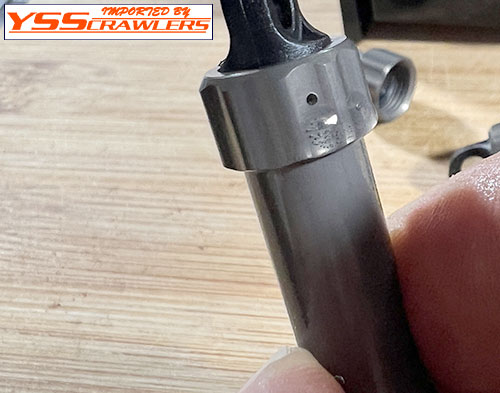
15.Here, I used「
YSS プロテックRC[Protek RC] ツルゥトルク[TruTorque] ショックシャフトプライヤー!」its for this kind of work!
16.Really easy to handle rodends too!
17.Use driver to tighten up!
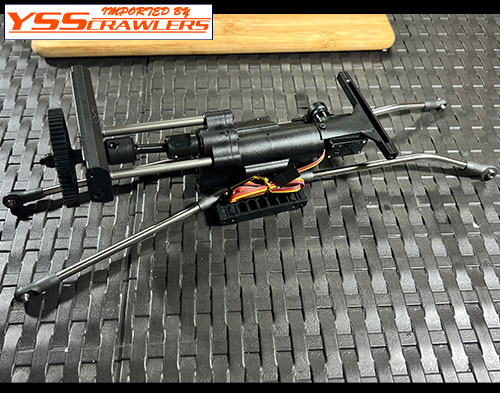
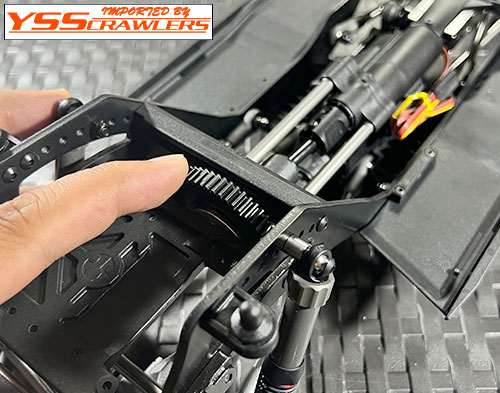
18.All shocks are done! Great quality and also very smooth!
19.One with red circle, its 18T gear, there is 20T gear also, so dont mistake using it, wont fit to gearbox shell.
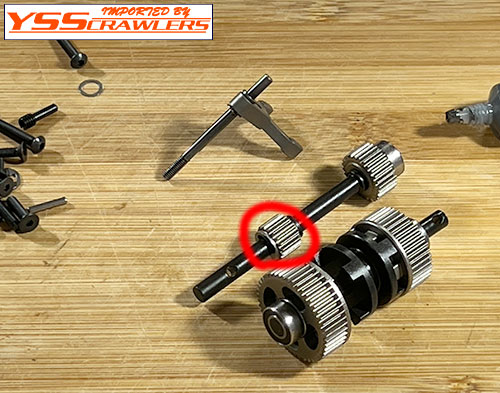
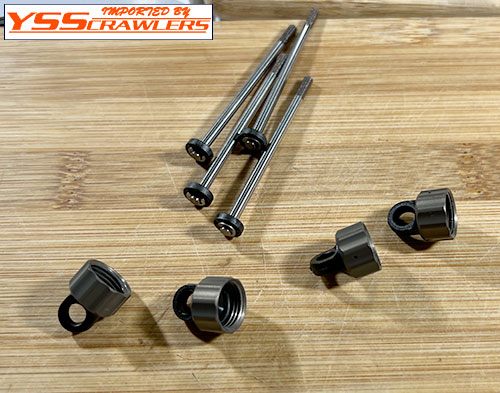
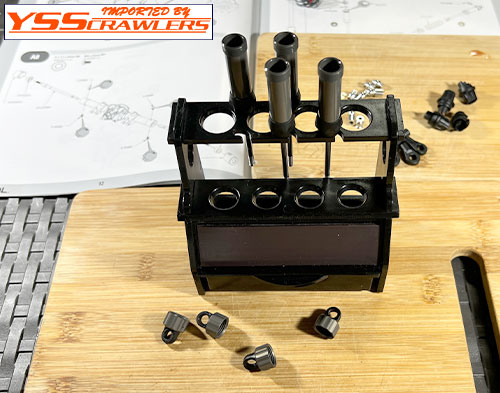
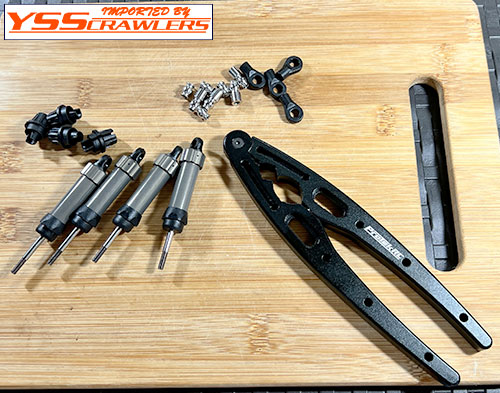
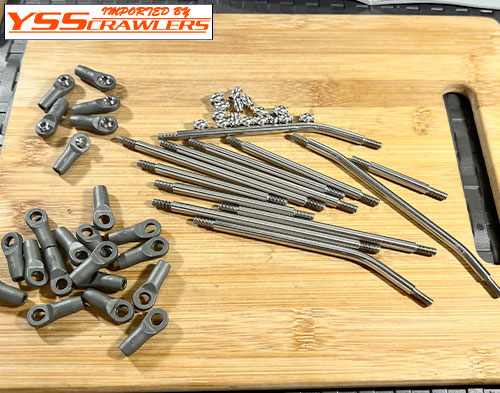
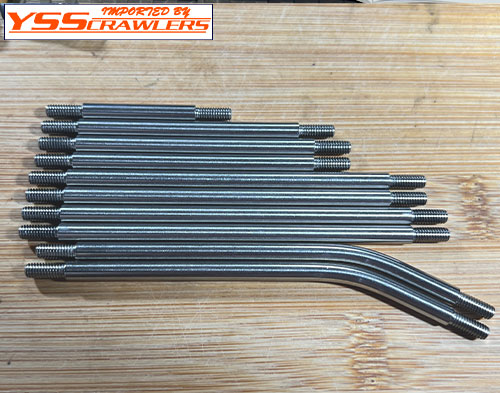
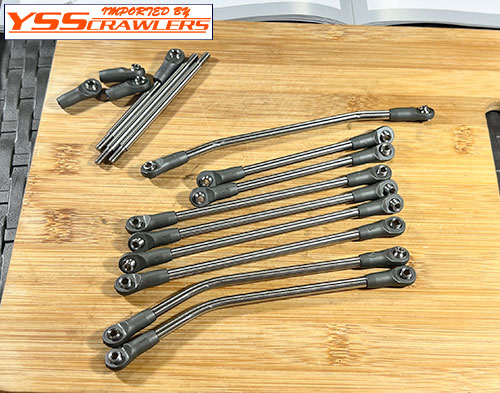
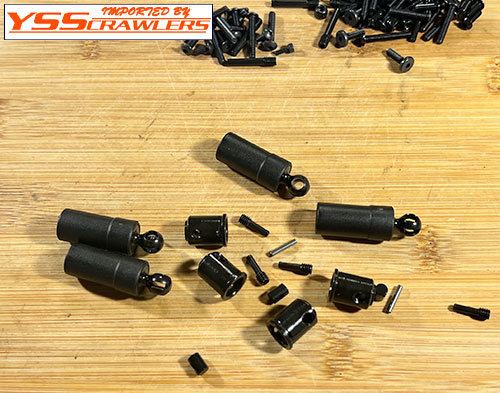
20.Always, check the smoothness!
21.I am using 「
YSS Spektrum SX107 マイクロサーボ![エコパワー827]」for the remote overdrive setup!
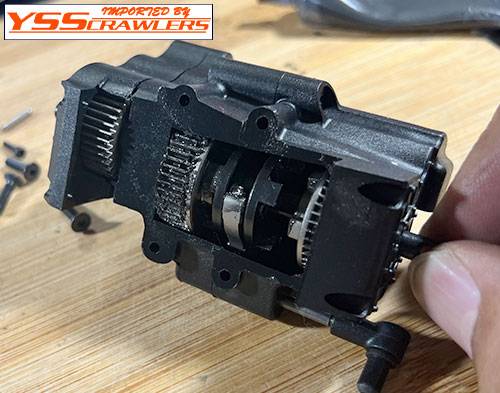
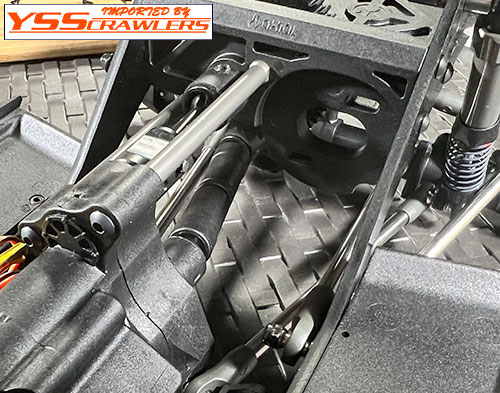
22.Main gearbox is done!
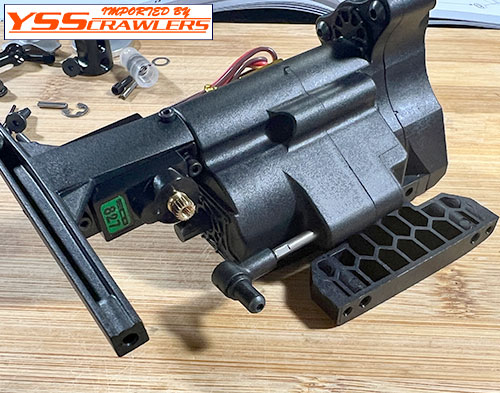
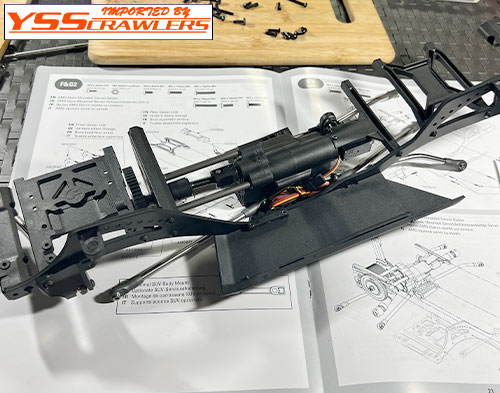
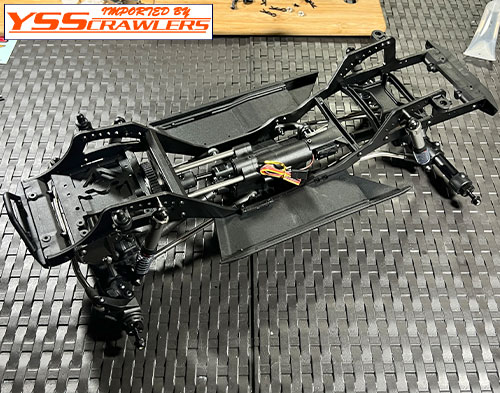
23.I put spur gear and motor plate!
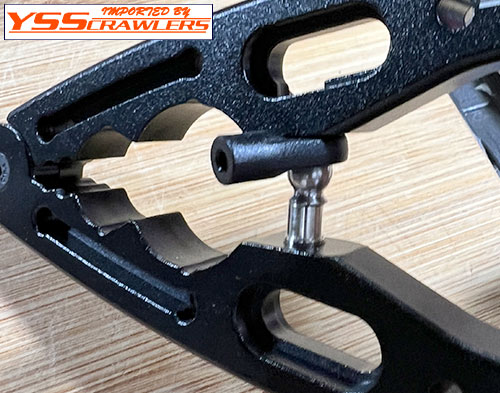
24.Start making rods!
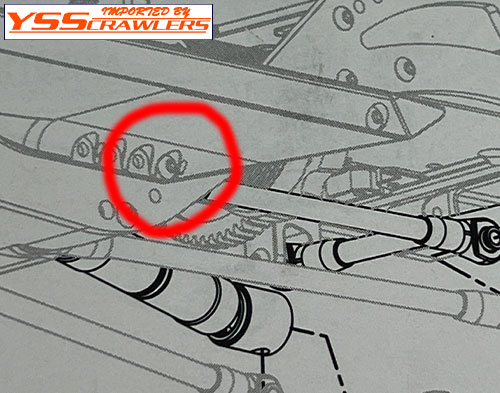
25.If you dont want to confuse which ones to use, just line them up!
26.I am going to build CMS setup!
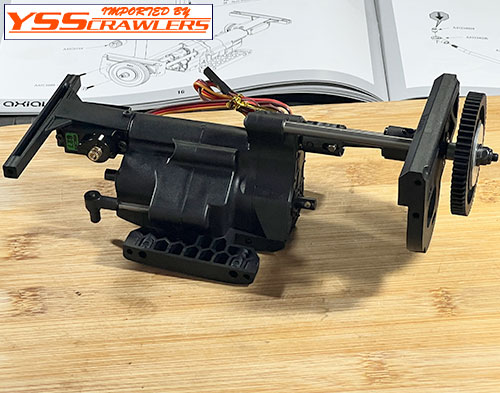
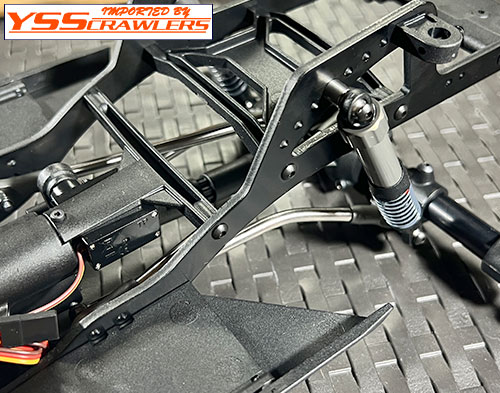
27.Driveshafts are next step!
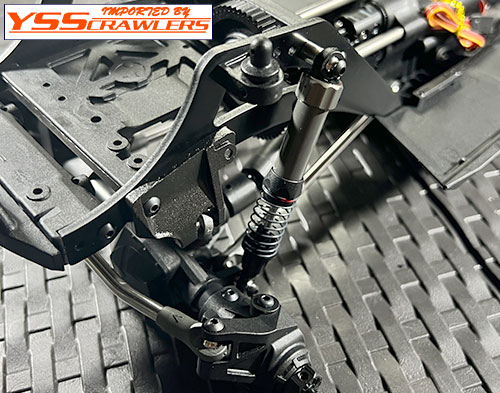
28.Now, putting all together! Looks like some kind of insect!
29.Side frame is installed!
30.Isnt it some kind of error?
31.Different place, but this page is correct.
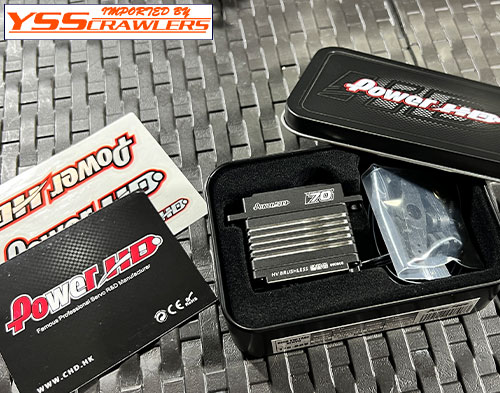
32.And both frames and side rails are installed!
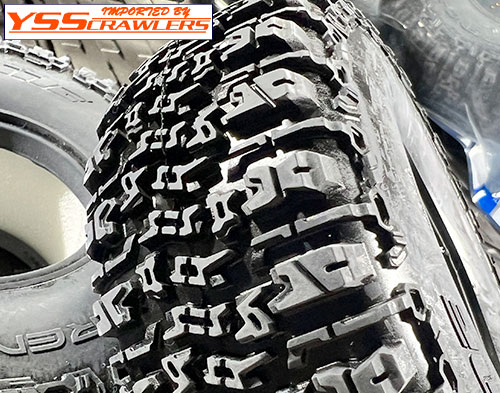
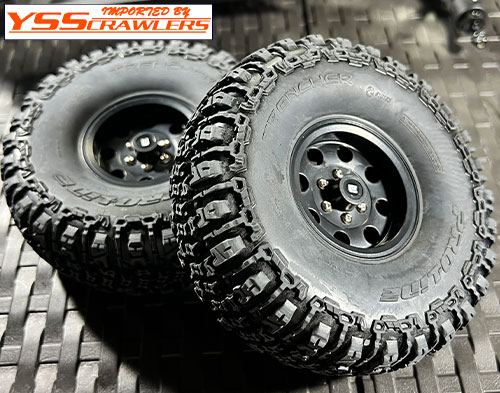
33.Metal panhard mount are really nice.
34.Bended rear lower links are nice!
35.Motor mount are solid and looking good.
36.As well as other section, check it if all smooth or not. Mine is soooo smooth!
37.Now, I am installing electric stuff to the rig,「
YSS Power HD T70-BHV フルメタル ハイトルクサーボ![70kg][HV]」 is very high performance servo you can get, I recommand!
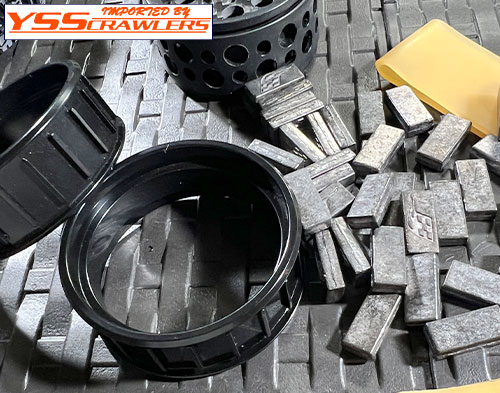
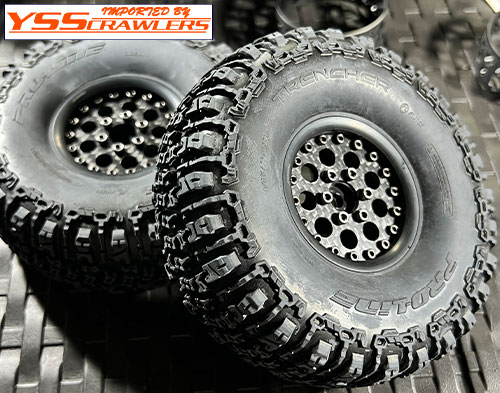
38.Tires,「
プロライン トレンチャー 1.9" ロックテレーン タイヤ![G8]」, Trencher is some kind of small blocks pattern, so I have choosen G8 compound!
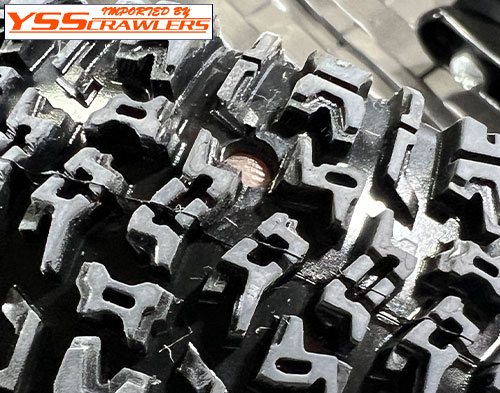
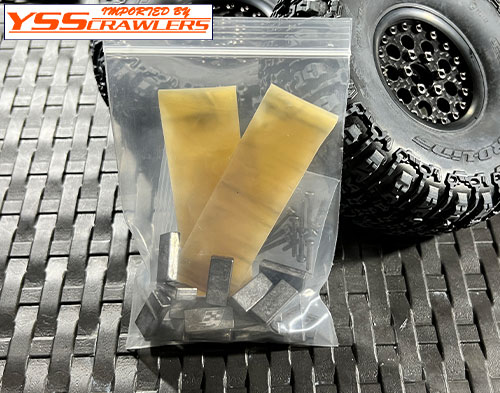
39.Here is great item「
YSS プロテックRC タイヤパンチ ツール!」to make holes to your tires!

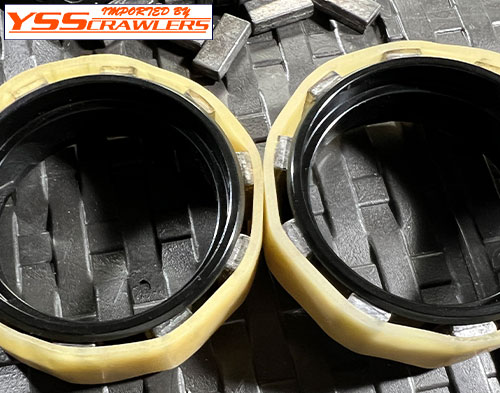
40.Make holes like this for 4 per 1 tire.
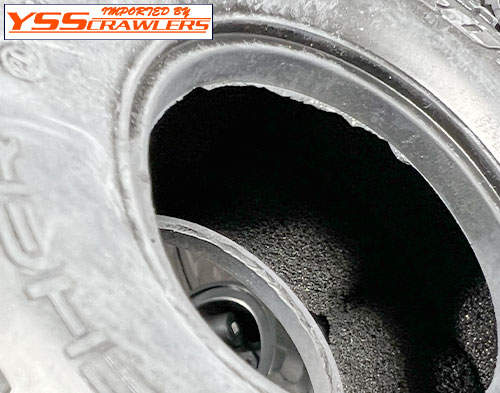
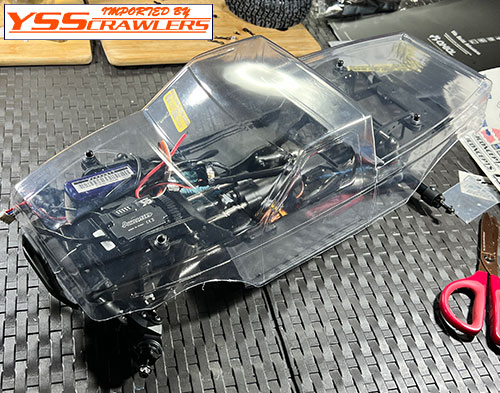
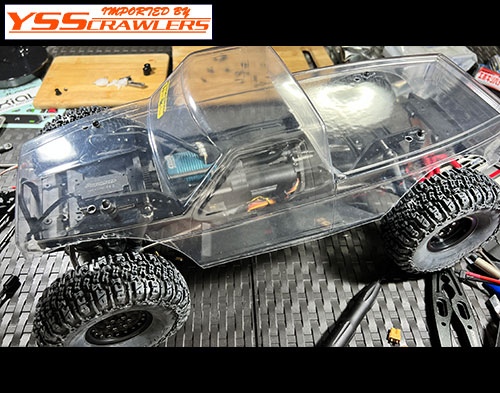
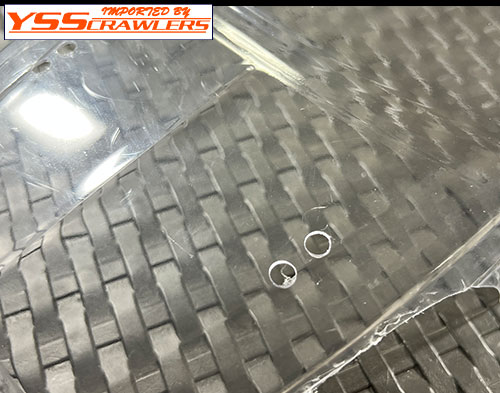
41.I have installed 2 stage inner foams to the tires「
YSS BM 1.9 デュアル 2ステージ クローズドセル インナー![120mm][S/M][2本]」
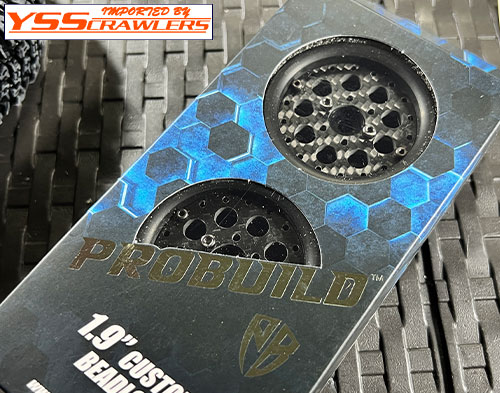
42.For the front rim,「
YSS BR プロビルド CR6 1.9 ビードロックホイール![BK/CF][STD][2本]」light weight and can custom anytime!
43.For the front tire weight「
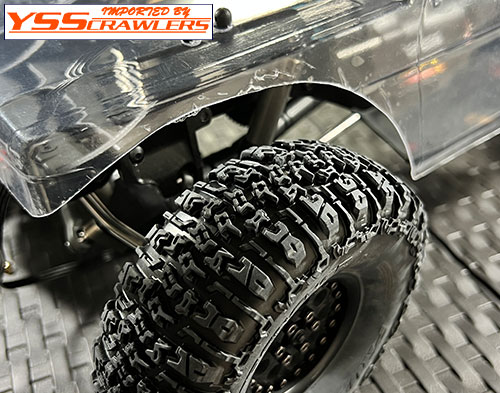
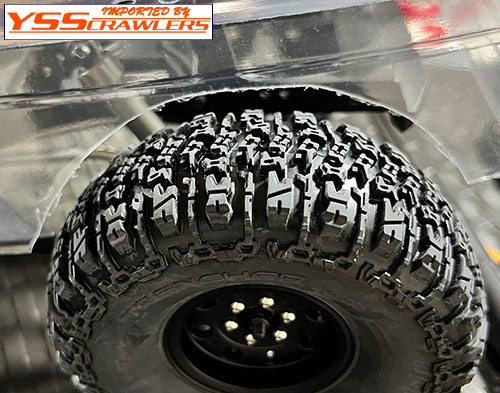
YSS BR プロビルド 1.9 ブラスセンターリング![STD][ウェイト付][2本]」adjustable and you can clean install!
44.I have put weight like this.
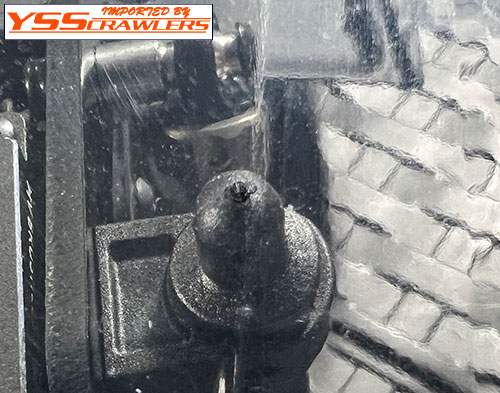
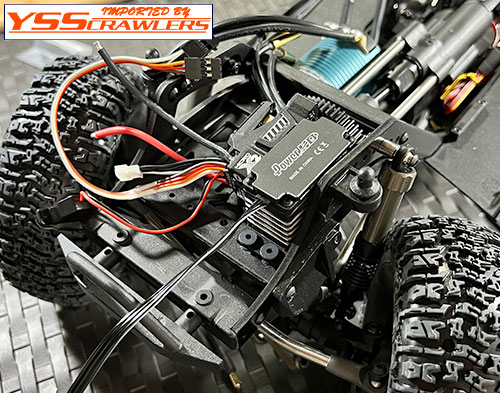
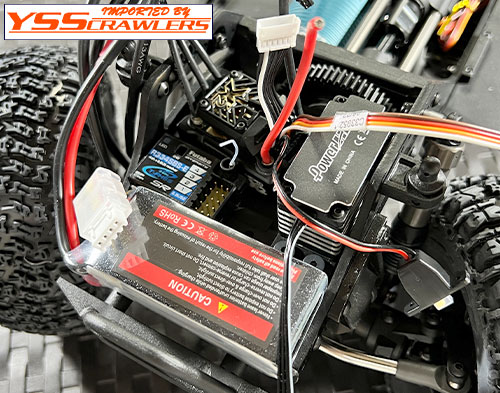
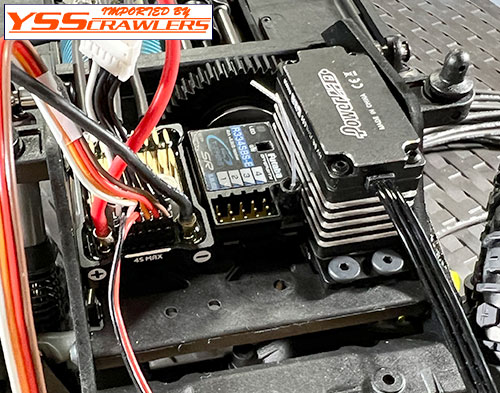
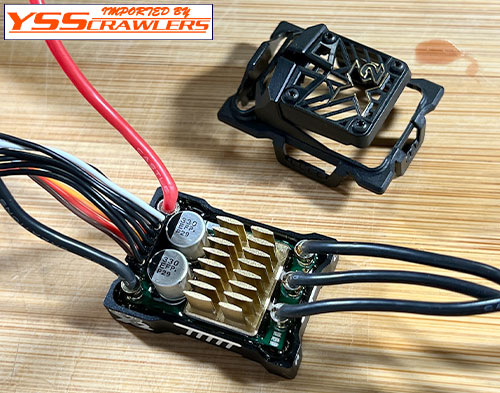
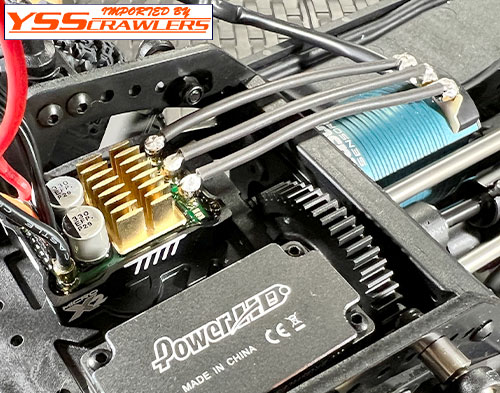
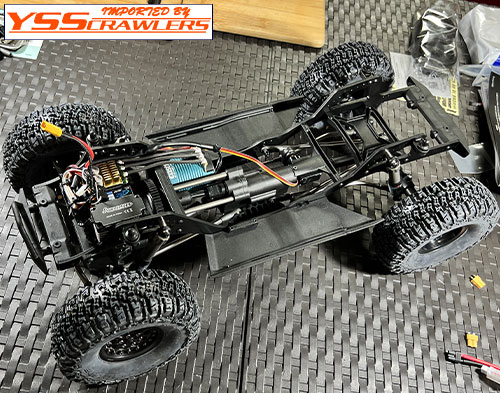
45.Front tires are done, looking good!
46.Leftovers, you will need when you run and setup, so put in to the bag and bring it with you!
47.For the rear rim「
AE Element Enduro オチョー 1.9 ビードロックホイール![4本][ブラック]」very light!
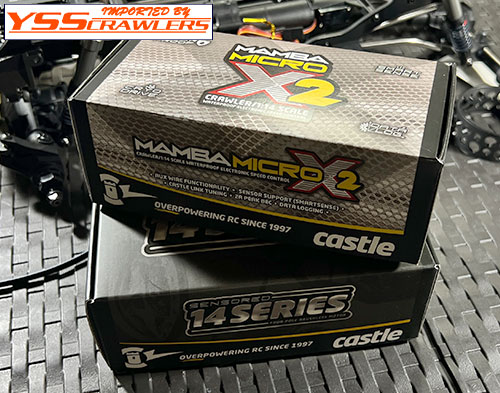
48.For the rear tire setup, soft outside but firm like the picture is good.

49.body cut and mark where to make holes!
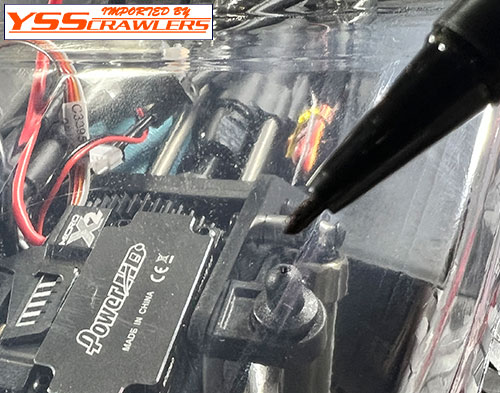
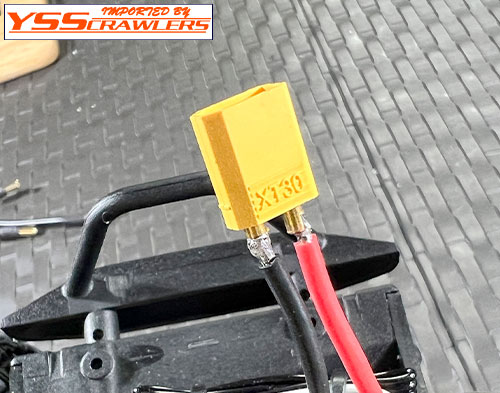
50.See how it looks.
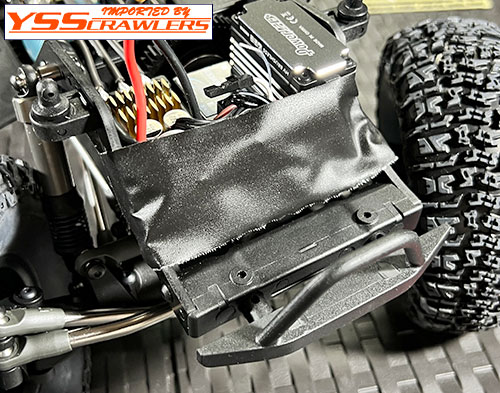
51.Body I have used「
J Concepts 1989 フォード F-250 トラックド ボディー [クリアー]」great looking truck body!
52.I make mistake, I should have adjust body mount holes with tires on.
53.Always happens.... uhhhh!
54.Front fender cut is like this.
55.Rear, also.
56.Now I am going to install ESC and motor.
57.Motor, no problem. ESC, how is the layout?
58.This is also good layout?
59.I decided to layout like this!
60.Mamba Micro X2 has great looking case but I took off...
61.I have put new motor cable, turned out really nice!
62.XT30 battery connector is just fine for this project.
63.Done!!!
64.I am going to make battery tray in front of electric items.
This is it for now! I will make battery tray and paint body and finally can go out for the run!!
Lets enjoy!
YSS Crawlers - Yoshiaki Kataoka
This product was added to our catalog on Friday 18 August, 2023.

